
Windows Sandbox is a lightweight, virtual desktop environment that safely runs the software in isolation. The Sandbox feature is in Windows 10 updated version 1909 or above. Software installed in Windows 10 sandbox runs separately from the current host environment. Do you want to run software separately from your current environment? then you need to config Windows sandbox on your PC.
Windows 10 sandbox provides you safer installation and runs environment for software. After closing the sandbox, all the files generated are deleted and again you get a new instance of the application. Also, you can test the trial version of the software or malicious websites or tools in the sandbox. In this post, we will guide you on how to enable Windows 10 sandbox on your PC.
How to Install Sandbox on Windows 10 PC
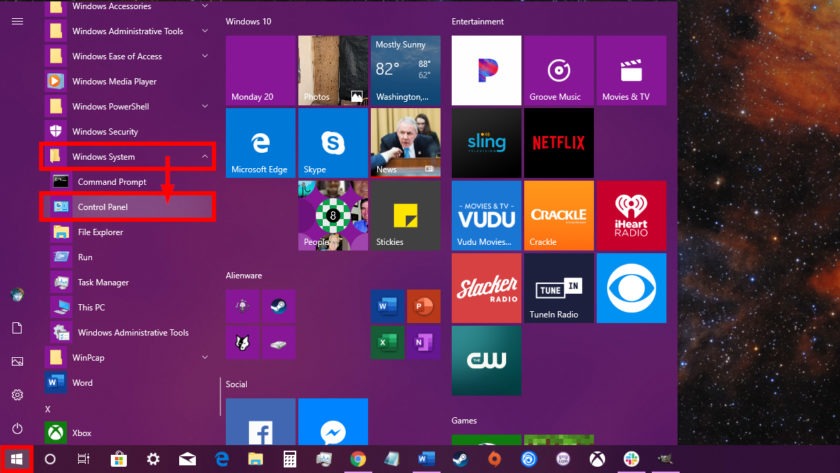
Open Control Panel on Windows 10 PC
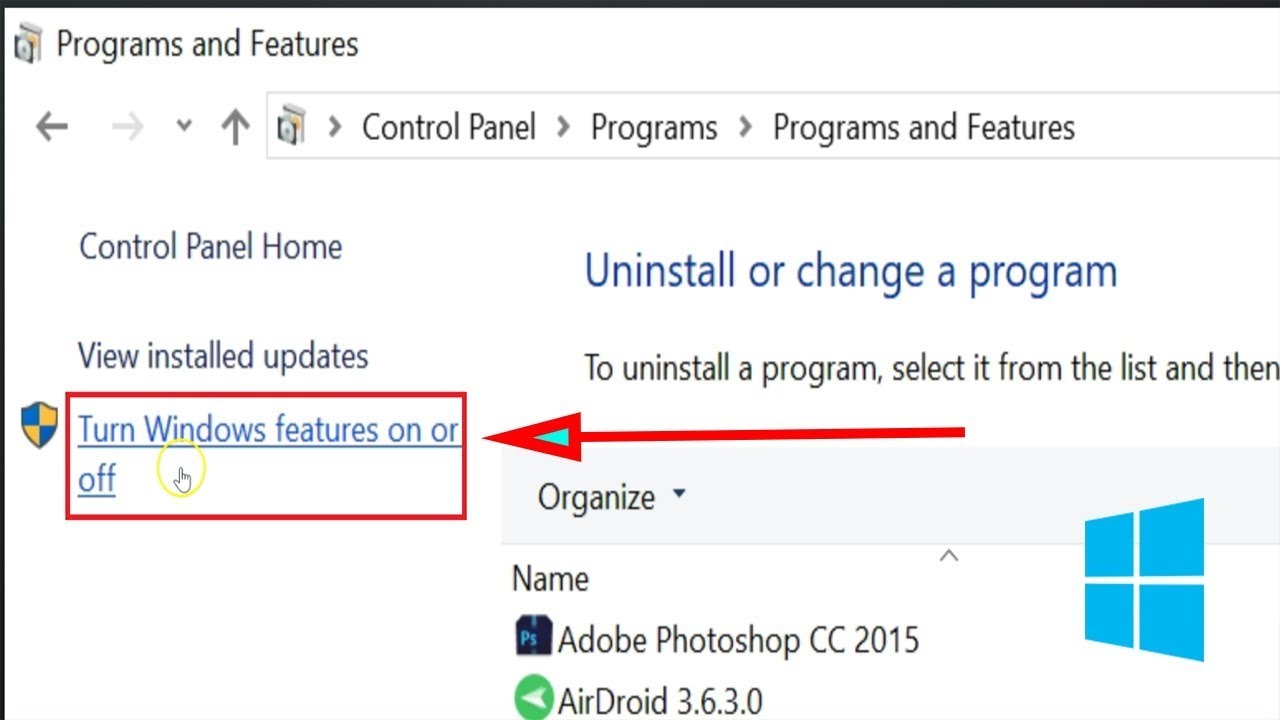
Search for Programs and features
Click on Turn Windows features On or Off
In dialog box look for Windows Sandbox
Open Windows Sandbox
After the Windows Sandbox installation, you can install the software and run it safer. Also, you can manually config the sandbox for your device. If you don’t see the Windows Sandbox enabled on your Windows 10 device, then your system is likely to not meet the prerequisites. Another reason your system BIOS has not virtualization enabled. You can check it by clicking on the taskbar then performance and look for virtualization: enabled. If you find this guide useful please share it with your friends.